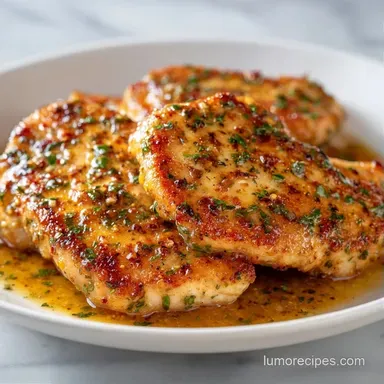
Pan Seared Chicken: Juicy with Pan Sauce
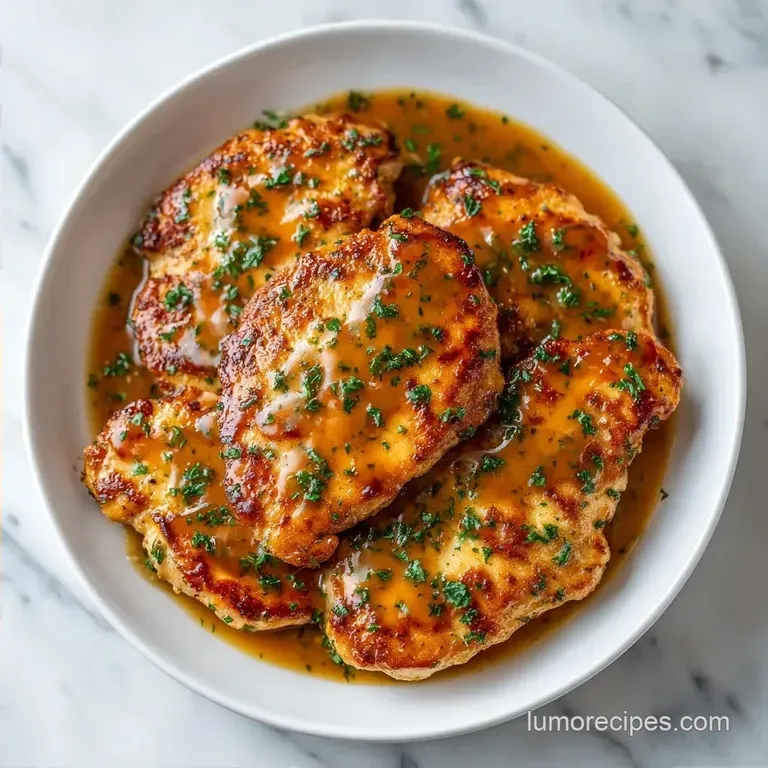
- Time: 5 min active + 20 min cook
- Flavor/Texture Hook: Velvety pan sauce with a salty, crisp crust
- Perfect for: Busy weeknight dinners or low effort meal prep
That sharp, loud crackle the second the meat hits the hot oil is the sound of success. If you hear a sad, quiet sizzle, you've probably made the mistake I did years ago: putting wet chicken into a lukewarm pan. I remember serving a dinner party where my breasts were gray and rubbery because I didn't pat them dry.
It was an embarrassing lesson in thermodynamics.
Since then, I've focused on the basics that actually produce results. This Pan Seared Chicken recipe isn't about fancy techniques, just about timing and temperature. You're looking for that deep brown color and a center that stays juicy.
We're going to use a simple spice rub and a quick pan sauce to tie everything together. By the time you're done, you'll have a meal that looks like it took hours but actually fits into a tight 25 minute window.
Pan Seared Chicken
The secret to this dish is the contrast. You want a crust that almost shatters when you cut into it, but a center that's tender and moist. Most people overcook the meat because they're afraid of underdoing it, but the trick is to pull it off the heat just before it hits the final target temperature.
If you've ever struggled with meat that sticks to the pan, it's usually because you tried to flip it too early. The meat will actually release itself from the metal once the crust has formed. It's a bit nerve wracking the first time you wait, but trust the process.
For those who want a different protein, my Skillet Chicken Thighs recipe uses a similar searing method but with a bit more fat for a richer taste. Whether you use breasts or thighs, the core goal is the same: high heat and no crowding.
Why This Method Works
Surface Dryness: Water on the meat turns to steam, which blocks the browning process and leads to gray meat.
Smoke Point Control: Using avocado oil allows the pan to get hot enough to sear without the oil burning or tasting bitter.
Carryover Cooking: Pulling the meat at 160°F allows the internal temperature to rise to 165°F while resting, preventing dryness.
Fond Recovery: The brown bits stuck to the pan are concentrated flavor that dissolves into the broth to make a velvety sauce.
| Feature | Fast Method (Cutlets) | Classic Method (Whole) |
|---|---|---|
| Cook Time | 10-12 mins | 20-25 mins |
| Texture | Uniformly crisp | Juicy center, thick crust |
| Best For | Weeknight rush | Sunday dinner |
| Risk | Easy to overcook | Uneven cooking |
Component Analysis
| Ingredient | Science Role | Pro Secret |
|---|---|---|
| Avocado Oil | over High heat medium | Keeps the pan from smoking at 400°F+ |
| Paprika | Color & Earthiness | Use smoked paprika for a grilled flavor |
| Unsalted Butter | Flavor & Emulsion | Add at the end to prevent burning |
| Lemon Juice | Acidity | Cuts through the fat of the butter sauce |
Essential Tool List
You don't need a professional kitchen for this, but a few specific tools make it easier. A 12 inch stainless steel or cast iron skillet is non negotiable. Non stick pans are fine, but they don't develop the same deep brown crust and don't create the fond needed for the sauce.
I suggest a digital meat thermometer. Guessing the doneness of Pan Seared Chicken by poking it with a fork is a gamble that usually ends in dry meat. A quick probe ensures you hit exactly 160°F.
Finally, use a sturdy pair of tongs. Flipping with a fork can pierce the meat and let the juices leak out, which defeats the whole purpose of the sear.
Step-by-step Guide
Phase 1: The Prep
- Pat the chicken breasts completely dry with paper towels. Note: Any moisture will steam the meat instead of searing it.
- Mix the salt, pepper, garlic powder, and paprika in a small bowl. Season both sides of the chicken evenly.
Phase 2: The over High heat Sear
- Heat the avocado oil in your skillet over medium high heat until it just begins to shimmer.
- Place the chicken in the pan without crowding. Sear undisturbed for 5–7 minutes until a deep, mahogany colored crust forms.
- Flip the chicken and cook for another 5 minutes, or until a meat thermometer reads 160°F (71°C).
- Move chicken to a plate and tent loosely with foil to rest.
Phase 3: Finishing the Pan Sauce
- Lower skillet heat to medium. Add butter and let it foam.
- Stir in minced garlic and shallots; sauté for 1–2 minutes until fragrant and translucent.
- Pour in the chicken broth. After searing chicken breasts, don’t skip the deglazing step. Adding white wine and broth to the hot skillet helps release the fond for a deeper flavor.
- Simmer for 3–5 minutes until the liquid reduces by half and becomes velvety.
- Stir in lemon juice and parsley, then pour the sauce over the rested Pan Seared Chicken.
Fix Common Problems
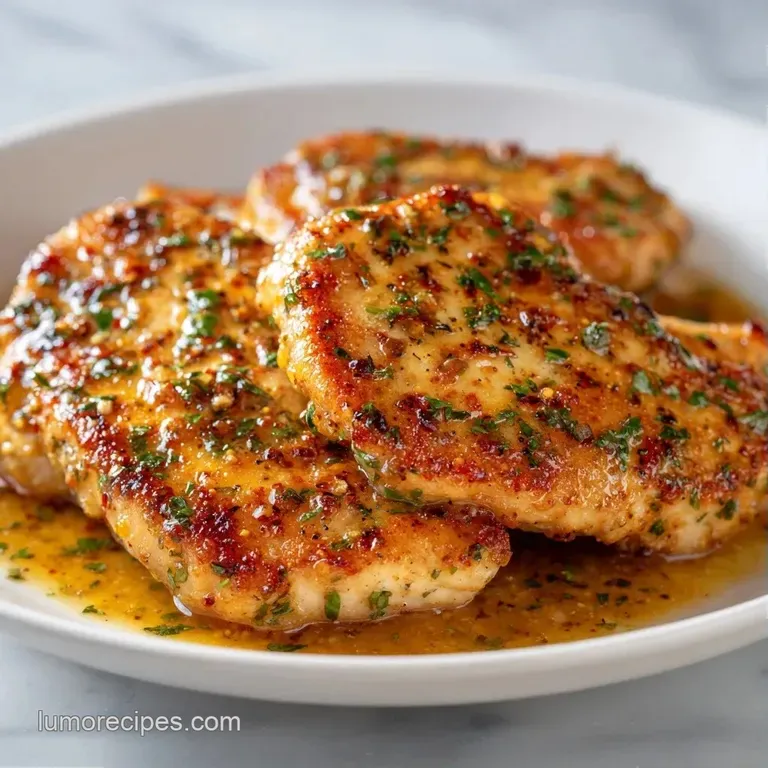
Why Your Chicken Sticks
If the meat won't budge, it's usually because the proteins haven't bonded and released from the metal yet. Don't force it or you'll tear the crust. Wait another 60 seconds, and it will slide right off.
For Overcooked, Dry Centers
This happens when the heat is too high or the meat is too thick. Pounding the chicken to a uniform 1/2 inch thickness ensures the edges don't dry out before the center is done.
For a Bland Sauce
If the sauce tastes thin, you likely didn't reduce the broth enough. Keep simmering until it coats the back of a spoon.
| Problem | Root Cause | Solution |
|---|---|---|
| Gray meat | Pan wasn't hot enough | Wait for oil to shimmer before adding meat |
| Rubbery texture | Overcooked past 165°F | Use a thermometer and pull at 160°F |
| Sauce separates | Heat too high for butter | Lower heat before adding butter and lemon |
Common Mistakes Checklist
- ✓ Patting meat dry with paper towels
- ✓ Using a high smoke point oil (like avocado)
- ✓ Pounding chicken to 1/2 inch thickness
- ✓ Letting the meat rest for 5 minutes
- ✓ Deglazing the pan to capture the browned bits
Flavor Twists and Swaps
Depending on what's in your fridge, you can easily change the vibe of this Pan Seared Chicken. If you want something more Mediterranean, swap the paprika for dried oregano and add a handful of capers to the pan sauce.
For a creamier version, stir in two tablespoons of heavy cream at the very end after the lemon juice. This creates a rich, velvety coating that feels more like a bistro dish. Just keep the heat low so the cream doesn't break.
If you're keeping it low carb, you can skip the shallots and use a bit more garlic and a splash of apple cider vinegar for that same acidic punch.
| Original Ingredient | Substitute | Why It Works |
|---|---|---|
| Avocado Oil (2 tbsp) | Grapeseed Oil (2 tbsp) | Similar high smoke point. Note: Neutral flavor profile |
| Chicken Broth (1/2 cup) | Dry White Wine (1/2 cup) | Adds acidity and depth. Note: Slightly more tart flavor |
| Fresh Parsley (1 tbsp) | Fresh Thyme (1 tsp) | Earthy, woody notes. Note: Best for autumn style dishes |
When making these changes, keep an eye on your salt levels. Some store-bought broths are saltier than others, so taste your pan sauce before adding any extra seasoning.
Scaling Your Batch
When you need to make this for a crowd, the biggest mistake is crowding the pan. If you put six breasts in a 12 inch skillet, the temperature drops, and you'll end up steaming the meat. Work in batches, searing two or three pieces at a time, and keep the finished pieces on a warm plate.
For a half batch, you can reduce the spices and oil, but keep the butter and garlic the same for the sauce. A small amount of sauce is better than none at all.
If you're doubling the recipe, don't double the salt. Start with 1.5x the seasonings and adjust at the end. Liquids like broth usually only need to be increased by about 80% because you have less surface area for evaporation in a crowded pan.
Truth About Searing
One of the biggest myths in the kitchen is that searing "locks in the juices." It doesn't. In reality, searing actually causes some moisture loss on the surface. However, the trade off is worth it because the browning creates a complex, savory flavor that you just can't get from poaching or baking.
Another common misconception is that you need to "seal" the meat on all sides before adding other ingredients. While we sear the chicken first here, the real flavor comes from the interaction between the meat and the pan sauce, not from some imaginary seal.
Finally, some believe that you must use butter for the initial sear. This is a mistake. Butter burns at a relatively low temperature, which would leave you with black, bitter specks on your Pan Seared Chicken. Save the butter for the finishing sauce.
Storage and Scraps
Store any leftover Pan Seared Chicken in an airtight container in the fridge for up to 3-4 days. To reheat without drying it out, place the chicken in a pan with a tablespoon of water or broth, cover with a lid, and heat on low. This steams the meat back to life.
For freezing, let the meat cool completely, wrap it tightly in foil, and place it in a freezer bag. It'll stay good for 2-3 months. Thaw it in the fridge overnight before reheating.
To avoid waste, save any leftover pan sauce for a quick glaze on roasted vegetables. If you have leftover chicken skins or trimmings, toss them into a pot with water and aromatics to make a quick, homemade stock.
Best Side Pairings
Since this Pan Seared Chicken has a rich, buttery sauce, you want sides that can either soak up that liquid or provide a fresh contrast. My Classic Creamy Scalloped Potatoes are a heavy but rewarding pairing that turns this into a full comfort meal.
If you want something lighter, go with steamed asparagus or a crisp arugula salad with a lemon vinaigrette. The bitterness of the greens cuts right through the richness of the butter sauce.
For a carb option that isn't as heavy as potatoes, try a wild rice pilaf. The nutty flavor of the rice complements the garlic and shallots in the sauce without overpowering the chicken.
High in Sodium
810 mg 810 mg of sodium per serving (35% 35% of daily value)
The American Heart Association recommends that most adults limit their sodium intake to 2,300 mg per day to reduce the risk of high blood pressure and heart disease.
Tips to Reduce Sodium
-
Reduce Added Salt-25%
Cut the kosher salt in half or omit it entirely; the other seasonings provide plenty of flavor for the chicken.
-
Swap the Broth-20%
Replace the low-sodium chicken broth with homemade unsalted broth or a mixture of water and a pinch of poultry seasoning.
-
Increase Acidity-10%
Add an extra tablespoon of fresh lemon juice to brighten the flavors, which helps the palate perceive saltiness even when less is used.
-
Use More Fresh Herbs
Increase the amount of fresh parsley or add fresh thyme and oregano to add aromatic complexity without adding sodium.
Recipe FAQs
How long does it take to cook pan-seared chicken?
20 minutes of active cooking time. Total time including prep is 25 minutes.
How to sear chicken quickly?
Pat the chicken completely dry with paper towels before seasoning. Excess moisture creates steam, which prevents the quick browning needed for a proper sear.
How to cook chicken for someone with gastritis?
Omit the paprika, garlic powder, and lemon juice. Stick to minimal salt and pepper to avoid irritating the stomach lining.
How to cook chicken for diabetic patients?
Use the low sodium chicken broth and lean breast cutlets. This preparation avoids added sugars and keeps the glycemic impact low.
How to cook chicken thighs in a pan?
Sear undisturbed for 5 7 minutes per side over medium high heat. Use the same technique as breasts, but ensure the internal temperature reaches 160°F.
What are some great chicken thigh recipes?
Try a sticky glaze or a slow cooked method. If you are looking for a different flavor profile, these garlic chicken noodles offer a great balance of savory and sweet.
How to ensure the chicken gets a deep mahogany crust?
Heat avocado oil until it shimmers and avoid crowding the pan. Leave the meat undisturbed for 5 7 minutes to allow the crust to form fully.
Pan Seared Chicken Breast