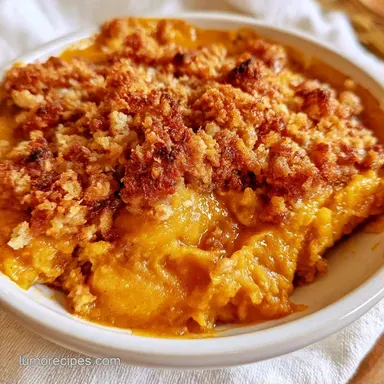
Pumpkin Crisp with Oat Crumble
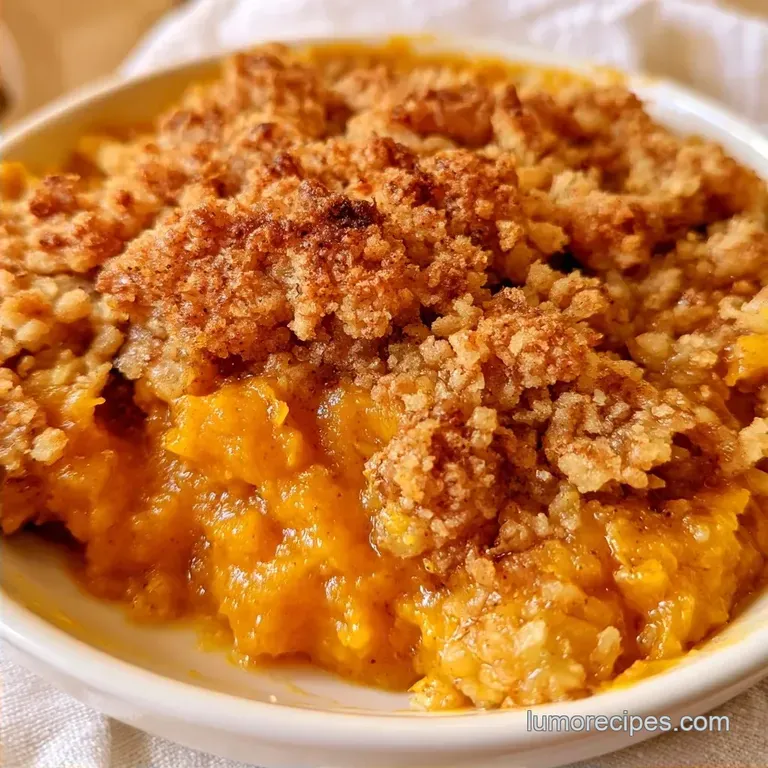
- Time: 15 min active + 40 min baking
- Flavor/Texture Hook: Spiced, velvety filling with a shattering oat crust
- Perfect for: Holiday potlucks or cozy Sunday nights
The smell of cinnamon and browned butter hitting the air is the only way I know it's officially autumn. I used to stress over rolling out pie crusts for my family, usually ending up with a bottom that was more "soggy" than "flaky." It was a mess every single year.
Then I started making this Pumpkin Crisp. It gives you all those warm, nostalgic flavors without the anxiety of a pastry wheel. It's the kind of dessert that makes the whole house smell like a bakery, and it's actually easy to get right every time.
You can expect a filling that feels like a thick, spiced custard and a topping that stays crisp. We're skipping the fancy tricks and focusing on a scratch made feel that tastes like home.
The One Thing That Changes Everything
The way the topping interacts with the base determines if you have a dessert or a puddle. Most people melt their butter, but that's where they go wrong.
- Cold Butter: Keeping the butter chilled and cubing it creates tiny steam pockets in the oven. This lifts the oats and flour, making the Pumpkin Crisp topping light and crumbly instead of a dense slab.
- Egg Ratios: Using two large eggs provides the structure needed to hold the pumpkin puree. It ensures the filling sets up firmly, which is a technique often discussed in guides from Serious Eats to prevent weeping.
If you love this kind of warmth, you might also enjoy my no bake pumpkin cheesecake for a cooler treat.
Recipe Specs
When you're making a Pumpkin Crisp, the timing has to be exact. Here are the numbers to keep you on track.
- 1. Oven Temp
- 175°C (350°F)
- 2. Bake Time
- 40 minutes
- 3. Butter State
- Chilled, not softened
Comparison Block: Fresh vs. Canned
| Base Type | Prep Time | Texture | Flavor Profile |
|---|---|---|---|
| Canned Puree | 0 mins | Consistent, smooth | Standard, sweet |
| Fresh Roasted | 90 mins | Denser, rustic | Earthy, deep |
Right then, let's look at what goes into the bowl.
What You'll Need
For the filling, we want a balance of cream and spice. For the topping, it's all about the crunch.
What Each Ingredient Does
| Ingredient | Role | If You Don't Have It |
|---|---|---|
| Pumpkin Puree | Main body and flavor | Mashed butternut squash |
| Heavy Cream | Adds richness/fat | Full fat coconut milk |
| Rolled Oats | Structural crunch | Quick oats (will be softer) |
| Chilled Butter | Creates the crumble | Cold coconut oil |
Full Ingredient List
- 1 can (425g) pure pumpkin puree
- 150g granulated sugar
- 2 large eggs
- 120ml heavy cream Why this? Adds a silky mouthfeel to the custard
- 5g ground cinnamon
- 2g ground ginger
- 1g ground cloves
- 3g salt
- 90g old-fashioned rolled oats
- 125g all purpose flour
- 200g packed light brown sugar
- 115g unsalted butter, chilled and cubed Why this? Prevents the topping from melting
- 5g ground cinnamon (for topping)
- 1g salt (for topping)
Ingredient Swaps
| Original Ingredient | Substitute | Why It Works |
|---|---|---|
| Heavy Cream | Coconut Milk | Similar fat content. Note: Adds coconut flavor |
| All Purpose Flour | Oat Flour | gluten-free option. Note: Topping will be more fragile |
| Brown Sugar | Coconut Sugar | Lower glycemic. Note: Less caramel flavor |
Equipment Needed
A few simple kitchen staples are all you'll need for this recipe.
- Large mixing bowl (for the base)
- Medium mixing bowl (for the crumble)
- Whisk
- Spatula
- Pastry cutter or two forks
- 9x9 inch baking pan
The Cooking Process
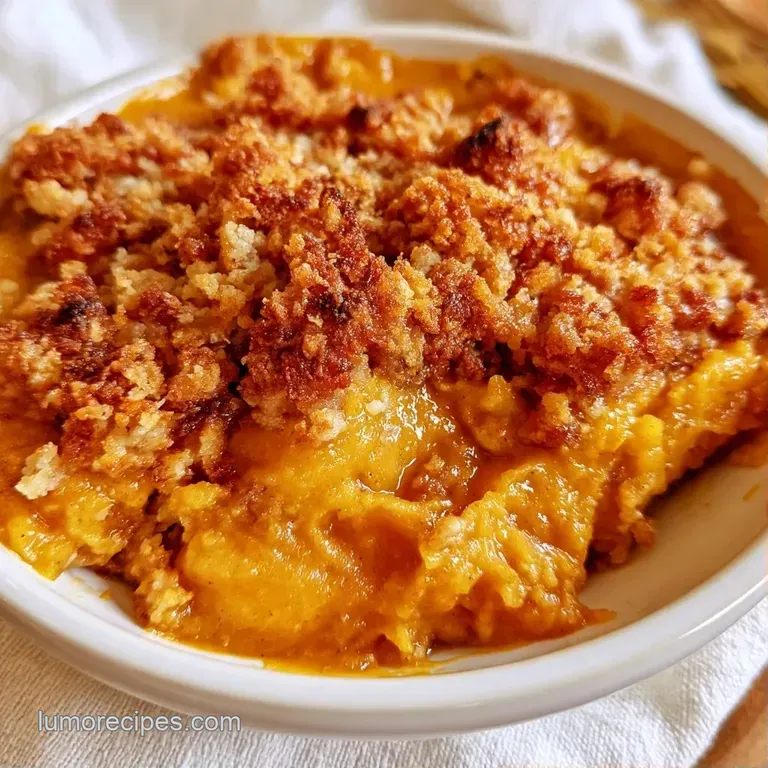
Let's crack on. The goal here is a contrast between the smooth bottom and the crunchy top of your Pumpkin Crisp.
1. Preparing the Velvet Base
Preheat your oven to 175°C (350°F). In a large bowl, whisk together the pumpkin puree, granulated sugar, eggs, heavy cream, and spices. Keep whisking until the mixture is completely smooth and a vibrant, uniform orange.
Pour the batter into the baking pan, smoothing the top with a spatula.
2. Crafting the Shattering Crumble
In a medium bowl, combine the oats, flour, brown sugar, cinnamon, and salt. Add the chilled, cubed butter. Use a pastry cutter or forks to work the butter into the dry ingredients. Stop when the mixture resembles coarse crumbs with some pea sized chunks of butter remaining.
3. The Golden Bake
Evenly sprinkle the oat topping over the pumpkin base. Press down very lightly so you don't squash the air out. Bake for 35-40 minutes until the edges of the filling are slightly puffed and set, and the topping is a deep mahogany gold.
Chef Note: If you see the edges browning too fast, loosely cover them with foil for the last 10 minutes.
How to Fix Common Problems
Even with a simple Pumpkin Crisp, things can occasionally go sideways.
Fixing a Soggy Topping
This usually happens if the butter was too warm when it hit the oven. If the butter melts instantly, it soaks into the flour rather than creating steam. Always use butter straight from the fridge. If it's already happened, you can't "un sog" it, but adding more oats next time will help.
Solving a Jiggly Center
If the middle is still wobbling like jello, it needs more time. Pumpkin is heavy and holds moisture. Give it another 5-10 minutes. The edges should be set, and the center should have a slight, firm jiggle, not a liquid slosh.
Stopping the Filling Skin
A tough skin forms when the oven is too hot or the dish is uncovered for too long. Keep the temperature at exactly 175°C. Ensuring your topping completely covers the filling also protects the custard from direct heat.
What to Serve This With
A Pumpkin Crisp is rich, so you need something to cut through the sugar. A dollop of unsweetened whipped cream or a scoop of vanilla bean ice cream is the standard. For something a bit different, try a drizzle of salted maple syrup.
Plating Levels
| Level | Method | Extra Touch |
|---|---|---|
| Simple | Scooped into a rustic bowl | Dusting of cinnamon |
| Polished | Cut into clean squares | Side of fresh raspberries |
| Restaurant | Circular mold center plate | Caramel drizzle and mint leaf |
Decision Shortcut: Extra crunch? → add 1/4 cup chopped pecans to the topping. More tang? → stir in 1 tsp lemon zest to the pumpkin base. Deep warmth? → replace 1 tsp cinnamon with pumpkin pie spice.
Freezing and Reheating Guide
Because this Pumpkin Crisp contains cream and eggs, it requires proper care after baking.
Storage Guidelines Store remaining portions in a glass dish in the refrigerator for no more than 4 days. While the topping may lose some crunch as it absorbs moisture from the custard, it remains delicious chilled.
Freezing Tips Individual slices can be frozen for up to 2 months. Wrap each piece securely in aluminum foil before placing them in a freezer bag. Thaw in the refrigerator overnight before serving.
Reheating the Best Way To restore the texture, skip the microwave. Warm a slice in a 175°C oven for 10 minutes. This ensures the oats are crisp again and the center is heated through without becoming rubbery.
Zero Waste Tips If you have extra pumpkin puree in the can, freeze it in ice cube trays. You can toss these cubes into morning oatmeal or smoothies for an autumnal touch all year round.
Mix It Up
Depending on who you're serving, you might want to tweak the Pumpkin Crisp.
The Cake Mix Shortcut
If you're in a rush, some folks replace the flour and sugar in the topping with a yellow cake mix. It's faster, but you lose that home baked flavor and get a much sweeter, denser crust.
The Cream Cheese Swirl
For a richer experience, dollop small bits of sweetened cream cheese into the pumpkin base before adding the topping. This gives you a flavor similar to my pumpkin cheesecake cookies, but in a warm crisp format.
The Healthy Swap
To make a healthier Pumpkin Crisp, swap the all purpose flour for almond flour and use maple syrup instead of granulated sugar. Note that the topping will be softer and won't have that same "shattering" effect.
The Nutty Crunch
Fold in 50g of toasted walnuts or hazelnuts into the oat mixture. The fats in the nuts complement the pumpkin puree and add a layer of savory depth.
Wrapping Up the Bake
Making a Pumpkin Crisp is about leaning into the season. It's not about precision to the milligram; it's about that feeling of warmth and the smell of spices filling the kitchen. Trust your nose when that topping smells like toasted cinnamon and looks mahogany gold, it's ready.
Whether you're serving this at a big family table or just treating yourself on a rainy Tuesday, this Pumpkin Crisp delivers that cozy, scratch made comfort. Just remember to keep that butter cold, and you'll have a dessert that people will actually ask for every single year. Enjoy the bake!
Recipe FAQs
Does pumpkin crisp need to be refrigerated?
Yes, since it contains eggs and heavy cream.
Tip: cover the pan tightly with foil to maintain the topping's crunch.
Is it true that melted butter works just as well for the topping?
No, and here's why. Chilled butter creates steam pockets that keep the oat crumble light and airy.
Tip: cube the butter and keep it in the fridge until the moment you mix it.
How to ensure the custard filling sets properly?
Bake at 350°F for 35-40 minutes until the edges are puffed and set.
Tip: let the dish cool completely before slicing to allow the proteins to firm up.
Do I really need to use a pie crust for pumpkin desserts?
No, this is a common misconception. A crumble topping provides a satisfying crunch without the effort of rolling dough.
Tip: if you enjoyed the spice balance here, see how the same flavor profile works in a pumpkin cake.
Why did my topping turn out like a dense slab?
This happens when the butter is too warm or the topping is pressed too firmly into the base.
Tip: sprinkle the oats lightly and avoid packing them down with a spatula.
Pumpkin Crisp