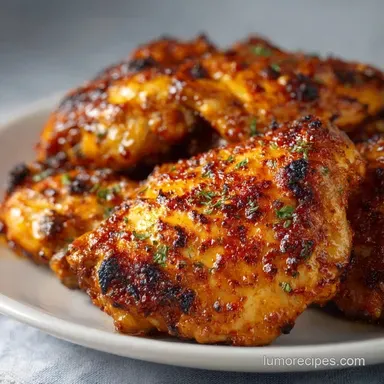
Crispy Air Fryer Thighs: Ultra Crispy Finish
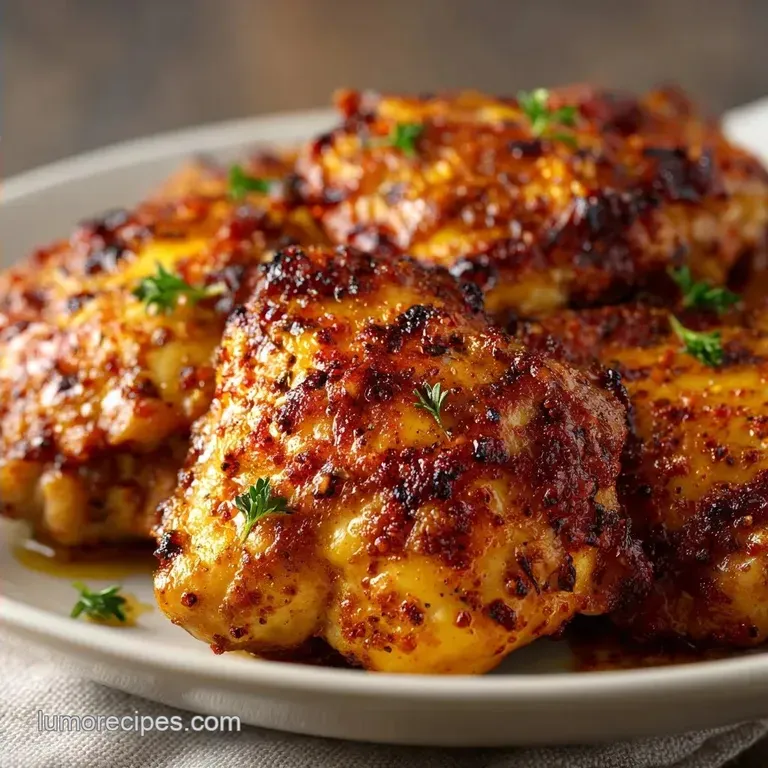
- Time: 5 min active + 22 min cook
- Flavor/Texture Hook: Smoky, garlic forward flavor with skin that actually crackles
- Perfect for: Busy weeknights or a high protein meal prep
- Why You'll Love Crispy Air Fryer Thighs
- Component Analysis
- The Ingredient List
- Tools You'll Actually Need
- Step By Step Cooking Guide
- Avoiding Common Cooking Disasters
- Troubleshooting Common Issues
- Swaps And Flavor Variations
- Adjustment Guidelines
- Kitchen Myths
- Storage And Zero Waste
- Plating And Presentation Tips
- Recipe FAQs
- 📝 Recipe Card
That specific sound the loud, distinct crack when your knife first hits the skin is the only thing that matters here. I spent way too much time in the past waiting for a massive oven to preheat, only to find the bottom of my chicken was soggy.
It's frustrating when you want that crunch but end up with something that feels steamed.
The air fryer changed that for me because it's basically a concentrated blast of heat. Instead of waiting an hour, you get the same result in about 20 minutes. It's a huge win for anyone who doesn't have time to baby a roast but still wants dinner to feel special.
You can expect a result that's juicy on the inside and genuinely crispy on the outside. These Crispy Air Fryer Thighs don't need a fancy marinade or a long soak to taste great, just a few simple pantry staples and a bit of heat.
Why You'll Love Crispy Air Fryer Thighs
Alkaline Skin: Adding baking powder raises the pH level of the chicken skin, which breaks down the proteins and creates tiny bubbles. These bubbles increase the surface area, giving you more "crunch zones" per square inch.
High Velocity Heat: The fan in an air fryer moves hot air much faster than a standard oven. This strips moisture away from the skin almost instantly, preventing the skin from getting rubbery.
Internal Basting: Starting the chicken skin side down allows the fat to render and pool. As the thighs cook, they essentially fry in their own rendered fat before you flip them for the final crisp.
Rapid Heat Transfer: Because the basket is perforated, the air hits the chicken from all angles. This means you don't get those "cold spots" that happen when meat sits on a solid baking sheet.
| Feature | Air Fryer Method | Traditional Oven |
|---|---|---|
| Cook Time | 22 minutes | 45-60 minutes |
| Skin Texture | Shatter crisp | Golden but softer |
| Cleanup | One basket | Pan + Foil + Drip tray |
| Energy Use | Low (small space) | High (heats whole oven) |
Component Analysis
| Ingredient | Science Role | Pro Secret |
|---|---|---|
| Baking Powder | pH Alteration | Use aluminum free to avoid a metallic aftertaste |
| Smoked Paprika | Color and Depth | Adds a "grilled" flavor without an actual grill |
| Olive Oil | Heat Conduction | Helps the spices stick and prevents the powder from burning |
| Bone in Thighs | Moisture Buffer | The bone keeps the meat from drying out at 400°F |
The Ingredient List
- 4 bone in, skin on chicken thighs (approx. 2 lbs) Why this? Thighs stay juicy longer than breasts at high heat
- 1 tbsp olive oil Why this? Conducts heat to the skin quickly
- 1 tsp baking powder Why this? Creates the bubble texture for maximum crunch
- 1 tsp smoked paprika Why this? Gives a deep red color and woody flavor
- 1 tsp garlic powder Why this? Distributes flavor better than fresh garlic, which burns
- 1 tsp salt Why this? Draws out moisture for a drier skin
- 1/2 tsp black pepper Why this? Adds a sharp, earthy bite
- 1/4 tsp cayenne pepper Why this? Just a hint of warmth to balance the fat
Substitution Guide
| Original Ingredient | Substitute | Why It Works |
|---|---|---|
| Olive Oil | Avocado Oil | Higher smoke point. Note: Neutral flavor, won't add the olive notes |
| Smoked Paprika | Sweet Paprika | Still gives color. Note: Loses the "fire roasted" depth |
| Baking Powder | Cornstarch | Absorbs moisture. Note: Crispy, but more of a "crust" than a "bubble" |
| Cayenne Pepper | Chili Powder | Similar heat. Note: Adds a cumin like flavor profile |
Tools You'll Actually Need
You don't need a professional kitchen for this, but a few things make it easier. An air fryer is obviously the star, but I recommend using a meat thermometer to be 100% sure about the doneness. If you don't have one, you can check if the juices run clear, though a thermometer is safer.
I also suggest using a bowl of paper towels. It sounds simple, but the drier the chicken is before the oil hits it, the better the results. Any water left on the skin will turn into steam, and steam is the enemy of a crunch.
Step by step Cooking Guide
- Pat the chicken thighs extremely dry with paper towels. Note: Even a tiny bit of moisture will stop the skin from crisping.
- In a small bowl, mix the olive oil, baking powder, smoked paprika, garlic powder, salt, black pepper, and cayenne pepper. Stir it until it forms a thin paste.
- Rub the seasoning mixture thoroughly over every inch of the chicken. Note: Get under the skin for the best flavor.
- Place the thighs skin side down in the air fryer basket.
- Cook at 400°F (200°C) for 12 minutes until the fat has rendered and the meat is searing.
- Flip the thighs to skin side up.
- Cook for another 10-12 minutes until the skin is deep golden brown and reaches 165°F (74°C).
- Remove the chicken from the basket and place it on a plate.
- Let the meat rest for 5 minutes until the juices settle back into the fibers.
Chef's Note: If you're using a very small air fryer, don't crowd the basket. If the thighs are touching too much, the air can't circulate, and you'll get soggy spots. Cook in two batches if you have to.
Avoiding Common Cooking Disasters
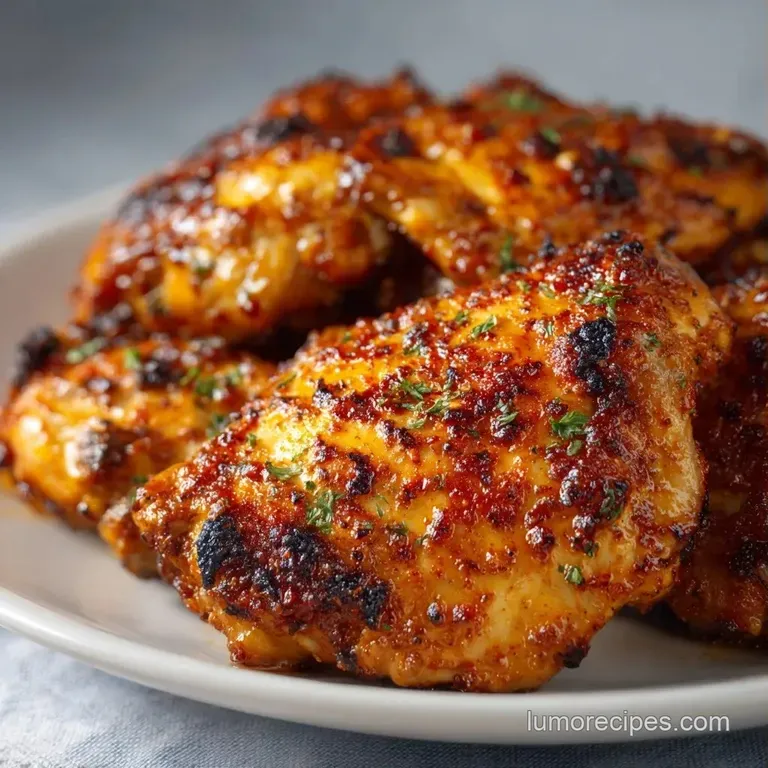
Troubleshooting Common Issues
| Issue | Solution |
|---|---|
| Why Your Skin Is Soggy | Usually, this happens because the chicken was still damp when it went into the basket. Moisture creates steam, and steam softens the skin. |
| Why The Spices Burnt | If you see black specks on your chicken, your air fryer might run hot, or you used too much oil. The paprika can burn if it's not well integrated into the oil paste. |
| Why The Middle Is Raw | This is common with very thick thighs. The skin looks done, but the bone in center is still pink. The solution is to lower the temp to 375°F and add 3-5 minutes to the cook time. |
Quick Fix Checklist
- ✓ Pat dry twice (once before seasoning, once after)
- ✓ Check that the basket isn't overcrowded
- ✓ Flip exactly at the 12 minute mark
- ✓ Use a thermometer for the 165°F target
- ✓ Rest the meat before slicing
Swaps And Flavor Variations
If you want something a bit different, you can easily change the rub. For a lemon pepper vibe, swap the paprika for cracked black pepper and add a squeeze of fresh lemon juice after cooking. Adding lemon before cooking can break down the skin too much.
For those who prefer a sweeter finish, you can brush on a honey garlic glaze during the last 2 minutes of cooking. Just be careful, as the sugar in honey burns quickly at 400°F. If you want a simpler approach, check out my air fryer chicken thighs for a more basic seasoning.
Adapting for Boneless Thighs
If you're using Air Fryer Boneless Chicken Thighs, reduce the total cook time. Since there's no bone to insulate the meat, they cook faster. I usually do 10 minutes skin side down and 7-8 minutes skin side up.
Modifying for Skinless Thighs
For Skinless Air Fryer Chicken Thighs, you'll lose that "shatter" effect. To compensate, I suggest a light dusting of cornstarch mixed with the spices. This creates a faux crust that mimics the crunch of the skin.
Adjustment Guidelines
Scaling Down If you're just cooking two thighs, the air moves more freely. Reduce the second cook phase by about 2 minutes. You don't need to change the seasoning amounts, just use what's needed to coat the meat.
Scaling Up When cooking 8 or more thighs, work in batches. If you pile them up, you're basically steaming the chicken. For the spices, don't just double everything linearly. I usually increase the salt and paprika to 1.5x instead of 2x to avoid the flavor becoming too aggressive.
If you're baking a larger batch in a traditional oven instead of the air fryer, lower the temp to 375°F and extend the time to 45 minutes to ensure the centers cook through without burning the tops.
| Target Size | Batch Size | Time Adjustment | Spice Adjustment |
|---|---|---|---|
| Single Serving | 1-2 Thighs | -2 mins on 2nd flip | Use proportional amounts |
| Family Meal | 4-6 Thighs | Standard Schema | Standard Schema |
| Party Size | 8+ Thighs | Work in 2 batches | 1.5x spices total |
Kitchen Myths
"Searing seals in the juices" This is one of the biggest myths in cooking. Searing doesn't create a waterproof barrier. The juices leave the meat regardless of the sear. The point of the sear is flavor that deep brown crust is where the taste lives.
"You must let meat rest for 20 minutes" While resting is important, 5-10 minutes is plenty for chicken thighs. Since they have a higher fat content than breasts, they don't dry out as quickly, and a short rest is enough to redistribute the juices.
"Baking powder makes the meat taste like cake" Not at all. When used in small amounts on the skin, it doesn't affect the flavor of the meat. It only changes the texture of the skin by altering the pH.
Storage And Zero Waste
Fridge and Freezer Store your leftovers in an airtight container in the fridge for up to 4 days. If you're freezing them, let them cool completely first. They'll stay good in the freezer for about 3 months.
Reheating for Crunch Do not use a microwave. It will turn your beautiful skin into a wet sponge. Put them back in the air fryer at 350°F for 3-5 minutes. This brings the fat back to a sizzle and restores the crunch.
Zero Waste Tips Don't throw away the bones if you're using boneless thighs or after you eat the bone in ones. Toss them in a pot with some carrot scraps and celery ends to make a quick chicken stock.
The rendered fat left in the air fryer basket can be wiped out with a paper towel and used to sauté vegetables for a massive flavor boost.
Plating And Presentation Tips
To make these look as good as they taste, avoid piling them on top of each other. This creates steam and ruins the skin. Instead, lay them out on a wide platter.
Garnish with a handful of chopped fresh parsley or sliced green onions to add a pop of color against the deep red of the paprika. I love serving these alongside creamy scalloped potatoes for a full comfort food vibe.
If you're serving guests, a wedge of fresh lemon on the side is a must. The acidity cuts through the richness of the thigh fat and brightens the whole dish. For a more rustic look, serve them on a wooden board with a side of charred broccoli.
Recipe FAQs
How to make extra crispy chicken thighs in the air fryer?
Pat the skin extremely dry with paper towels and use baking powder. Removing surface moisture prevents steaming, while the baking powder breaks down proteins to create a crunchier skin.
Is air frying ok for diabetics?
Yes, air frying is a healthy alternative to deep frying. It significantly reduces the amount of added fat and calories without sacrificing the texture of the food.
How do you make chicken legs crispy in the air fryer?
Pat the skin dry and cook at 400°F. Apply a thin layer of oil and seasoning, ensuring the pieces are not crowded so the hot air can circulate freely.
Are chicken thighs good for diabetics?
Yes, they are an excellent protein choice. Chicken thighs are naturally low in carbohydrates and provide a satisfying level of satiety for those managing blood sugar.
How do you cook thighs in an air fryer?
Rub the chicken with the spice paste and air fry at 400°F. Cook skin side down for 12 minutes, then flip and cook for another 10-12 minutes until the internal temperature hits 165°F.
What is the best air fryer chicken recipe?
A recipe that combines high heat with a baking powder rub. This technique ensures the skin becomes deep golden brown while the meat remains juicy inside.
What are some great chicken thigh recipes?
High heat roasted preparations are the most flavorful. If you enjoyed mastering the high temp sear here, the same principle works perfectly in our garlic butter version.
Crispy Air Fryer Thighs